前回Pythonのライブラリを用いてサンキーダイアグラムの基本的な描画方法をご説明しました。今回はそのデザインなどの細かな設定を具体例を挙げながら説明して行きます。
レイアウト
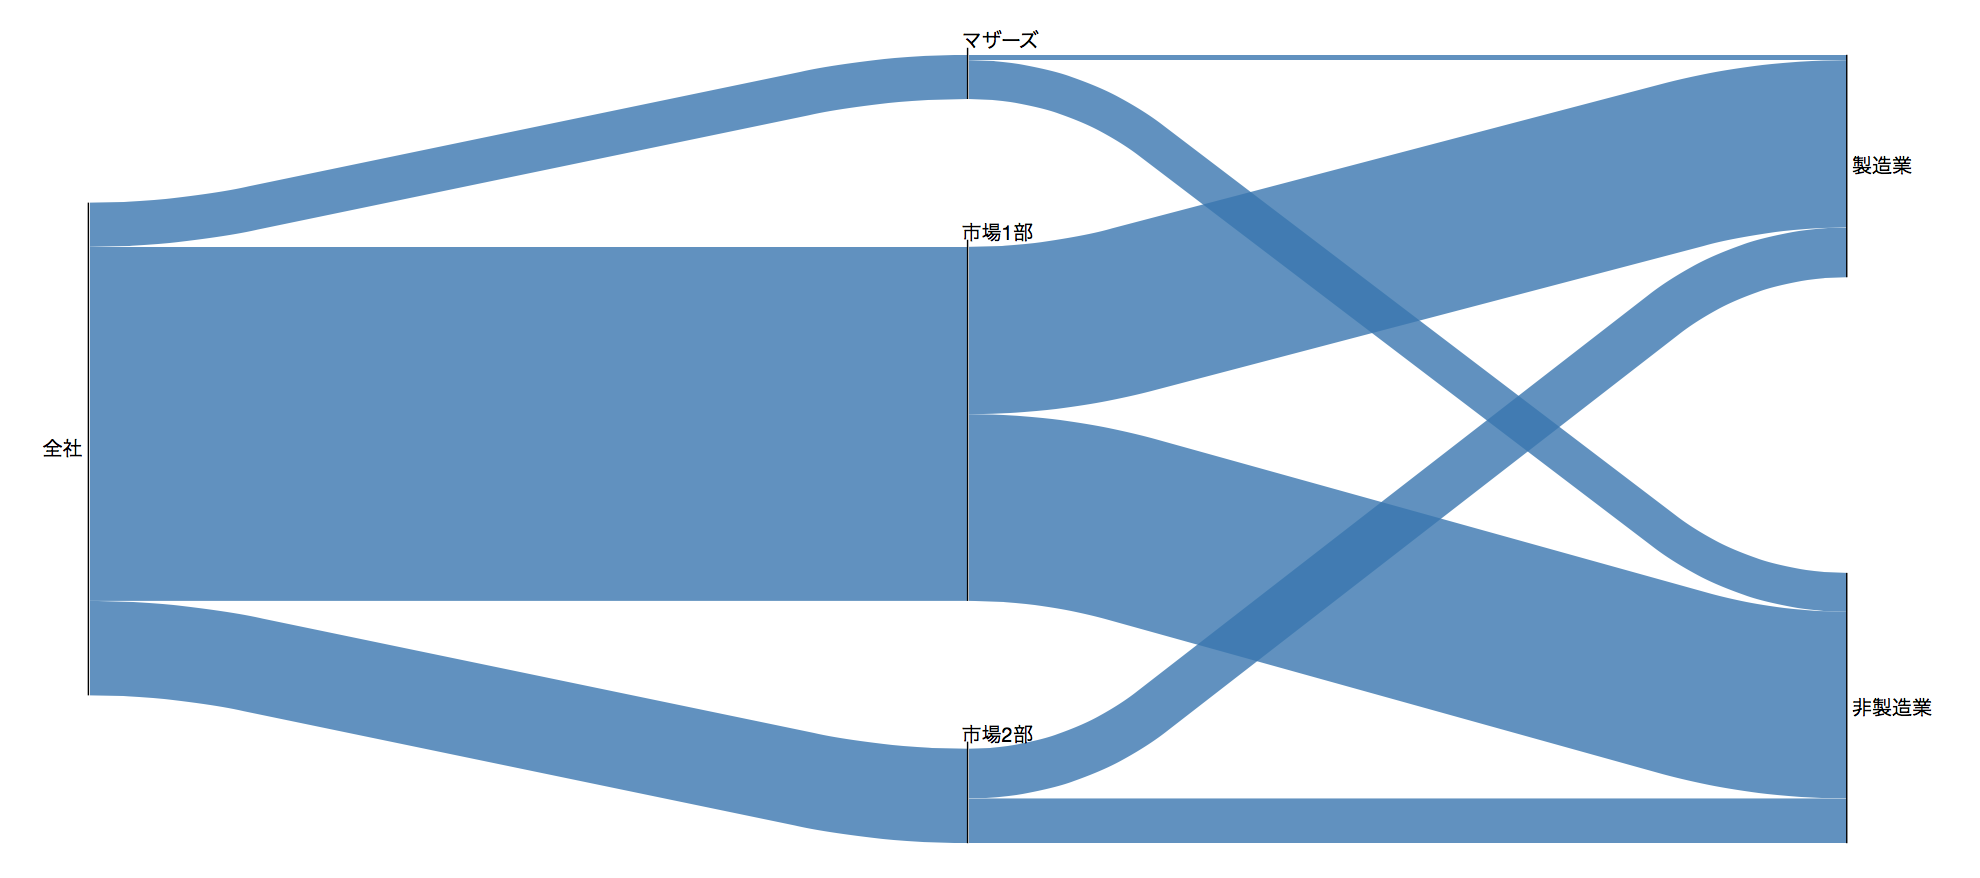
Layoutオブジェクトでサイズ変更
ipywidgetsからlayoutというモジュールをimportします。データは前回使用した東京証券取引所のデータです。
from ipysankeywidget import SankeyWidget
from ipywidgets import Layout
#layoutオブジェクト作成
layout = Layout(width='1400', height='700')
links = [
{'source': '全社', 'target': '市場1部', 'value': 1915},
{'source': '全社', 'target': '市場2部', 'value': 511},
{'source': '全社', 'target': 'マザーズ', 'value': 239},
{'source': '市場1部', 'target': '製造業', 'value': 905},
{'source': '市場1部', 'target': '非製造業', 'value': 1010},
{'source': '市場2部', 'target': '製造業', 'value': 269},
{'source': '市場2部', 'target': '非製造業', 'value': 242},
{'source': 'マザーズ', 'target': '製造業', 'value': 29},
{'source': 'マザーズ', 'target': '非製造業', 'value': 210},]
#オブジェクト化
#引数にlayoutオブジェクト
w = SankeyWidget(links=links,layout=layout,margins=dict(top=0, bottom=0, left=50, right=100),order=order)
#表示w
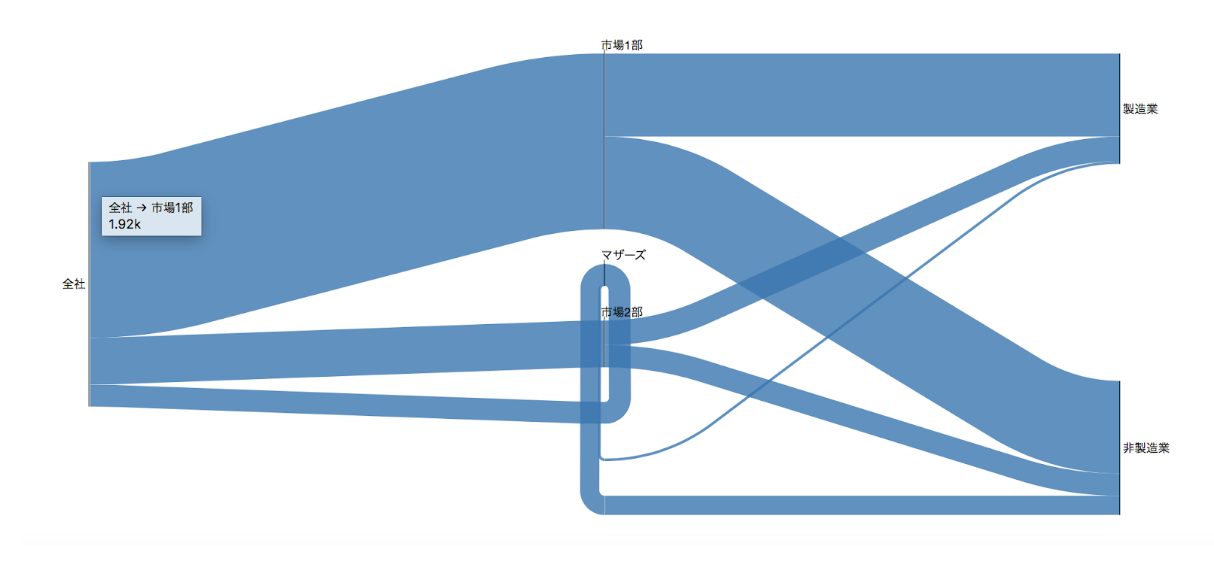
層変更
前回使用した顧客ランクデータを用います。前回新規会員は真ん中、すなわち2層目にありましたがこれを一番左に持って行きます。rank_setsという変数を作成します。
#辞書を要素とするリストとして渡す
links = [
{'source': '20x1_All', 'target': 'S_20x1', 'value': 180},
{'source': '20x1_All', 'target': 'A_20x1', 'value': 380},
{'source': '20x1_All', 'target': 'B_20x1', 'value': 180},
{'source': 'S_20x1', 'target': 'S_20x2', 'value': 100},
{'source': 'A_20x1', 'target': 'S_20x2', 'value': 80},
{'source': 'B_20x1', 'target': 'S_20x2', 'value': 10},
{'source': '新規', 'target': 'S_20x2', 'value': 10},
{'source': 'S_20x1', 'target': 'A_20x2', 'value': 50},
{'source': 'A_20x1', 'target': 'A_20x2', 'value': 200},
{'source': 'B_20x1', 'target': 'A_20x2', 'value': 40},
{'source': '新規', 'target': 'A_20x2', 'value': 20},
{'source': 'S_20x1', 'target': 'B_20x2', 'value': 20},
{'source': 'A_20x1', 'target': 'B_20x2', 'value': 80},
{'source': 'B_20x1', 'target': 'B_20x2', 'value': 100},
{'source': '新規', 'target': 'B_20x2', 'value': 30},
{'source': 'S_20x1', 'target': '退会', 'value': 10},
{'source': 'A_20x1', 'target': '退会', 'value': 20},
{'source': 'B_20x1', 'target': '退会', 'value': 30},
{'source': '新規', 'target': '退会', 'value': 10},]
layout = Layout(width ='1400',height='700')
rank_sets=[{"type":"same","nodes":['20x1_All','新規']}]
#オブジェクト化
w = SankeyWidget(links=links, layout=layout,margins=dict(top=0, bottom=0, left=50, right=100),rank_sets=rank_sets)
#表示w
順序変更
#linksは東京証券取引所データ
layout = Layout(width='1400', height='700')
#orderオブジェクト作成
order = [['全社'],["市場1部","マザーズ","市場2部"],['製造業','非製造業']]
#オブジェクト化
w = SankeyWidget(links=links, layout=layout,margins=dict(top=0, bottom=0, left=50, right=100),order=order)
#表示w
input/outputの左右を変える
node変数を以下のように定義しSankeyWidgetの引数として渡す
#マザーズのoutputを左から
nodes = [
#{'id': '製造業', 'direction': 'r'},
{'id': 'マザーズ', 'direction': 'l'}
#{'id': '市場1部', 'direction': 'l'},
#{'id': '市場2部', 'direction': 'l'},
]
#オブジェクト化 w = SankeyWidget(links=links, layout=layout,margins=dict(top=0, bottom=0, left=50, right=100),order=order,nodes=nodes)
#表示
w
styleの設定
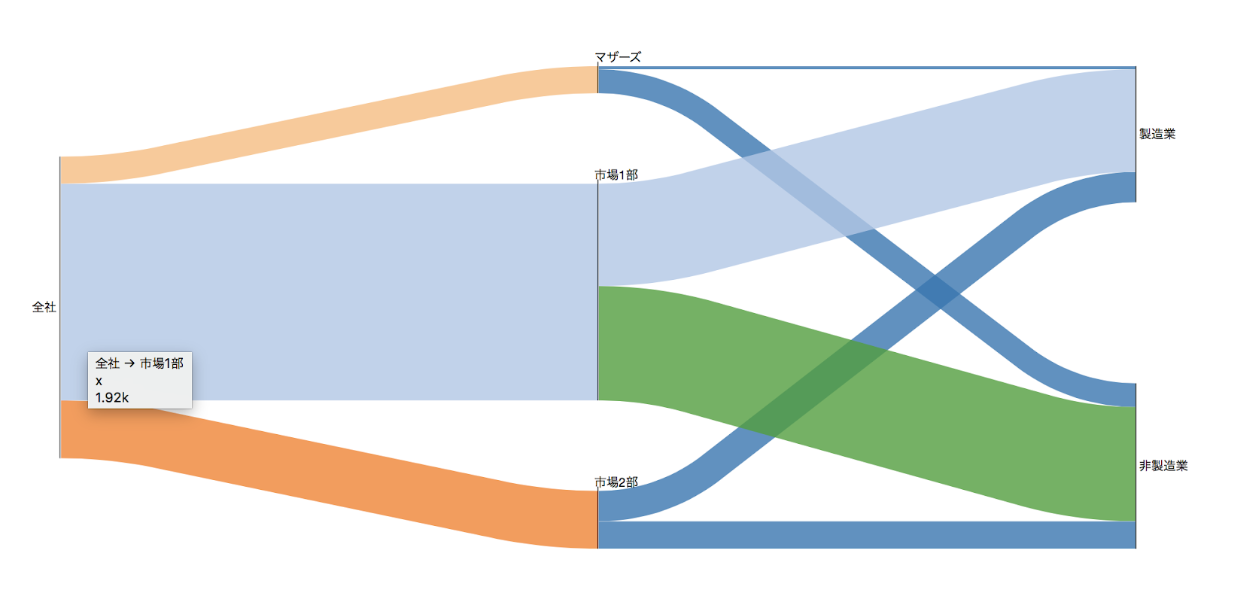
色を変える
links = [
{'source': '全社', 'target': '市場1部', 'value': 1915,"type":"x"},
{'source': '全社', 'target': '市場2部', 'value': 511,"type":"y"},
{'source': '全社', 'target': 'マザーズ', 'value': 239,"type":"z"},
{'source': '市場1部', 'target': '製造業', 'value': 905,"type":"x"},
{'source': '市場1部', 'target': '非製造業', 'value': 1010,"type":"a"},
{'source': '市場2部', 'target': '製造業', 'value': 269},
{'source': '市場2部', 'target': '非製造業', 'value': 242},
{'source': 'マザーズ', 'target': '製造業', 'value': 29},
{'source': 'マザーズ', 'target': '非製造業', 'value': 210},
]
#オブジェクト化
w = SankeyWidget(links=links, margins=dict(top=0, bottom=0, left=50, right=100),layout=layout)
#表示
w
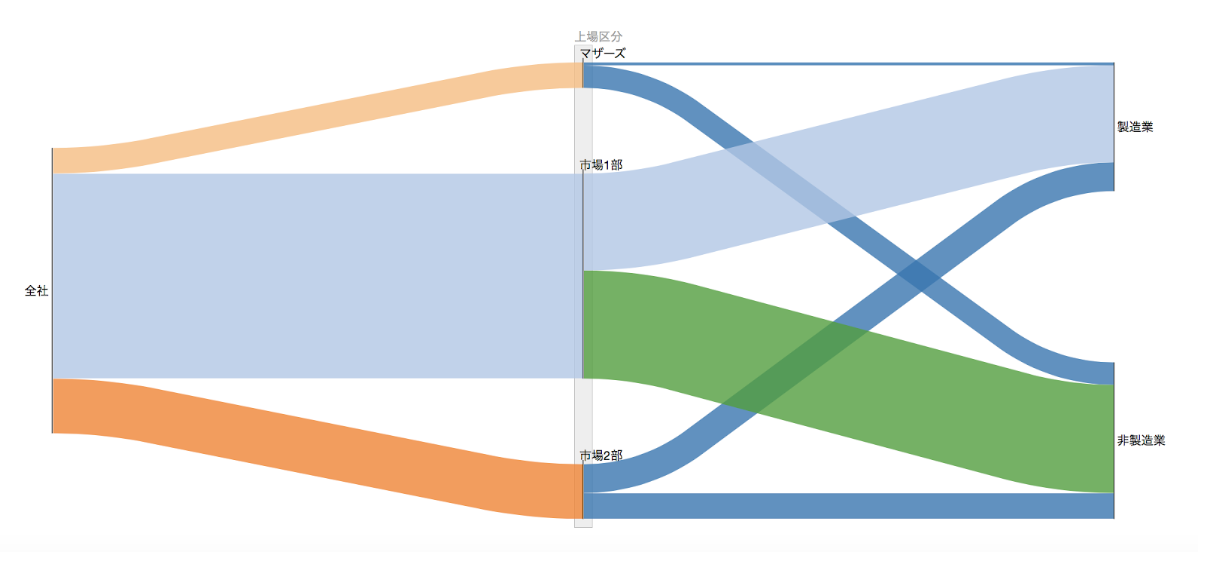
node区分を描画
groups = [
{'id': 'G', 'title': '上場区分', 'nodes': ['市場1部', '市場2部','マザーズ']}
]
#オブジェクト化
w = SankeyWidget(links=links,groups=groups, margins=dict(top=30, bottom=0, left=50, right=100),layout=layout)
#表示
w
以上です。他のテクニックもありますが頻繁に使うであろうものだけをリストアップしました。描画のオブジェク自体のマージンはmarigin=dict()以下で設定できます。

